
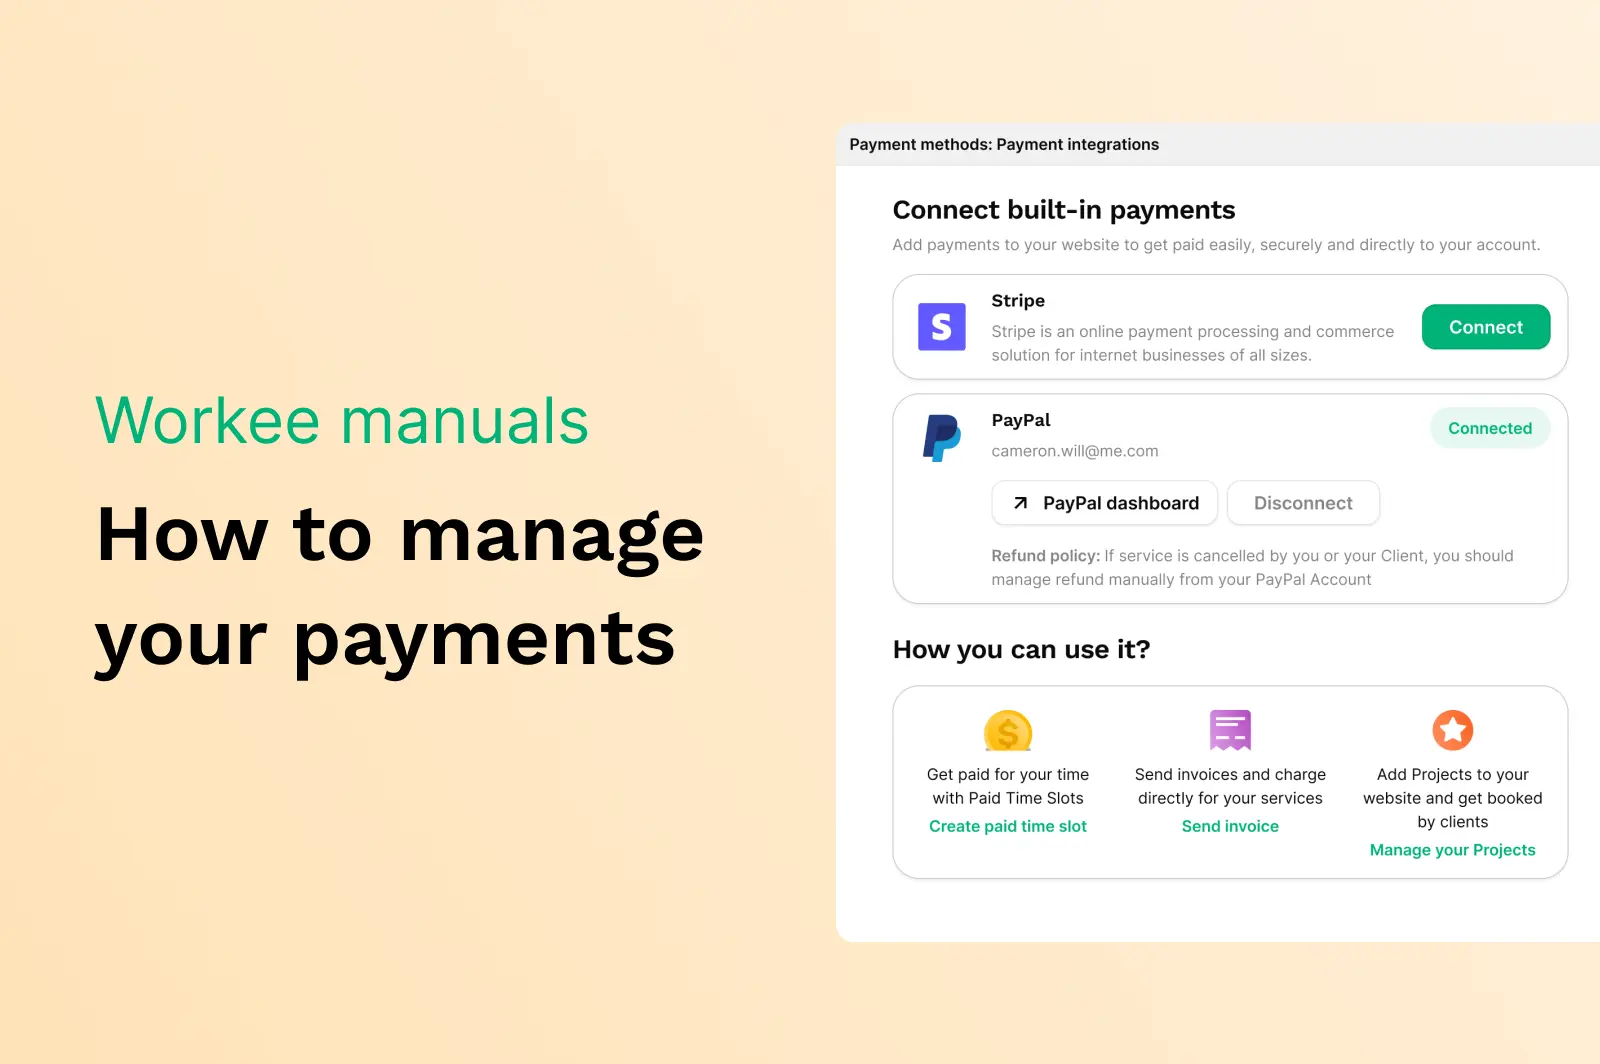
Workee Manuals: How to manage your payments
Log in to https://app.workee.net
In the ’Payments Tab’ on the main menu, you'll find all the tools necessary to set up Connect Built-in Payments and Add Custom Payments. Please note that Workee applies a 5% transaction fee for Stripe and PayPal for Starter users and 0% fees for Pro users. For Custom Payments, Workee charges no transaction fees.
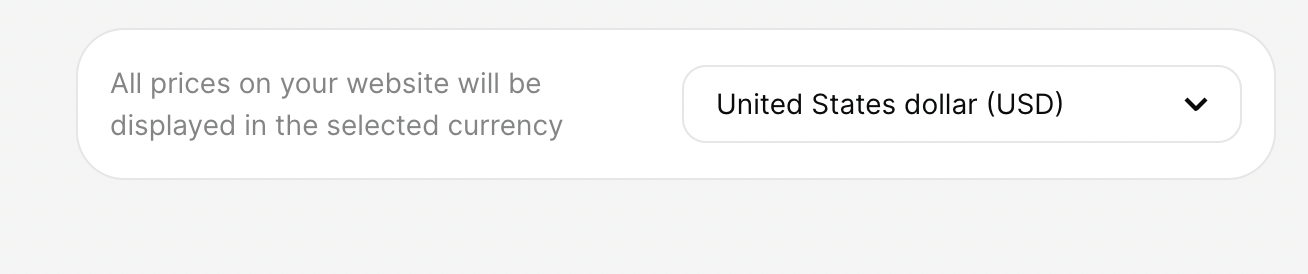
All prices on your website will be displayed in the currency you have chosen.
Connect Built-in Payments
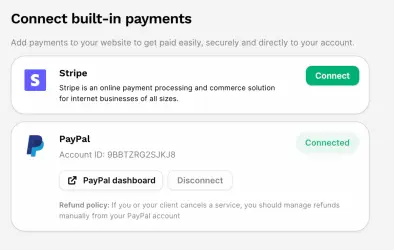
Connecting Built-in Payments allows you to easily add payments to your website to get paid securely and directly to your account. Here's a detailed guide on how it works:
Connect to Stripe
Connect to PayPal
Connect Stripe
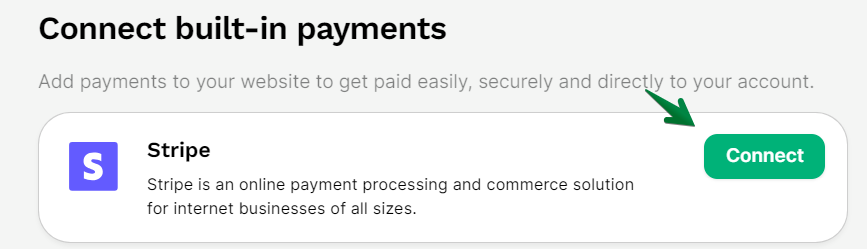
To Connect to Stripe: Click on the "Connect" button next to the Stripe option to link Stripe with your website. This will enable you to receive payments directly to your account securely.
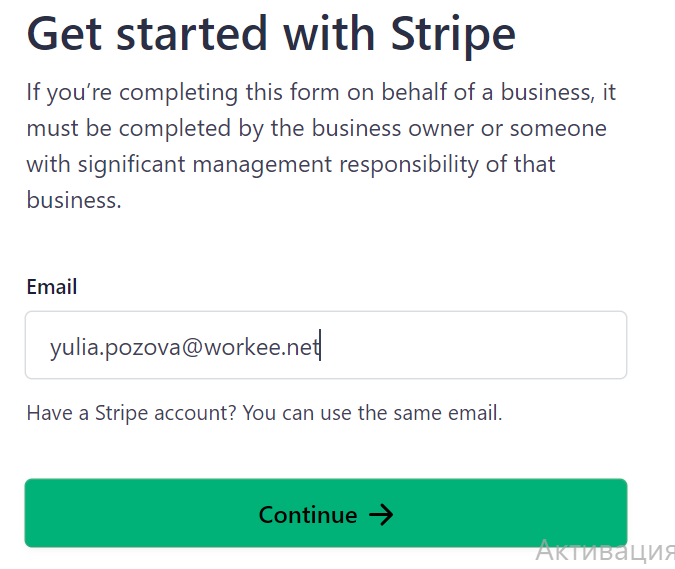
Logging into Stripe: You will be prompted to enter your email address to set up or connect to an existing Stripe account.
Enter your email address, as shown in the example below (yulia.pozova@workee.net), and click on the "Continue" button.
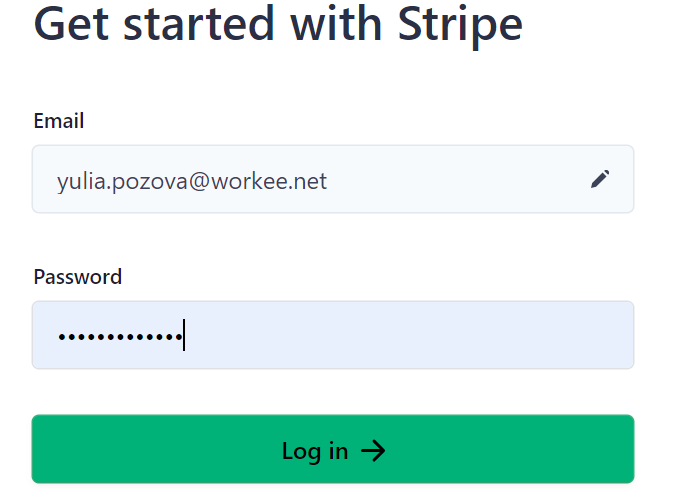
After entering your email, you will be asked for your Stripe password.
Enter your "Password" and click the "Log in" button to proceed.
Stripe Dashboard: Once logged in, you will be directed to your Stripe dashboard which may show a "Pending verification" status.
If your account requires additional verification, follow the prompt to add the necessary information on your Stripe Dashboard.

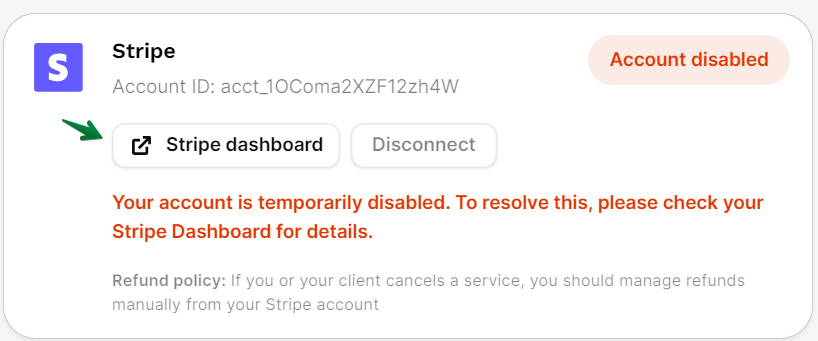
Account Disabled Notice: If there are issues with your account, such as it being temporarily disabled, you will see a notification.
In such cases, visit your Stripe Dashboard for details and to resolve the issue.
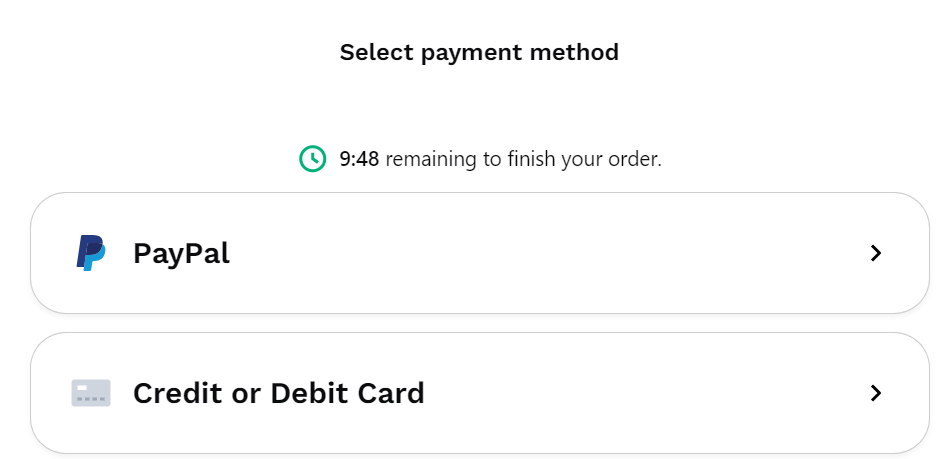
On the checkout page of your website, your clients will see the option to 'Select payment method' If Stripe is your preferred method, they can select it to proceed with payment.
Successful Connection Confirmation: Once your Stripe account is successfully connected and verified, it will display as 'Connected' on your website's payment settings.
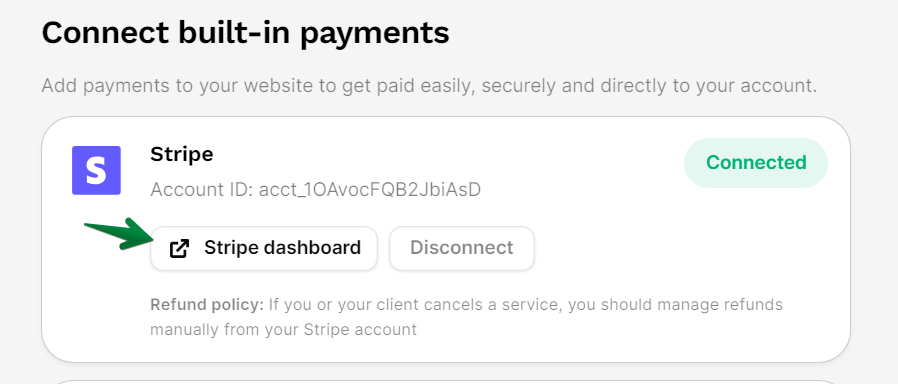
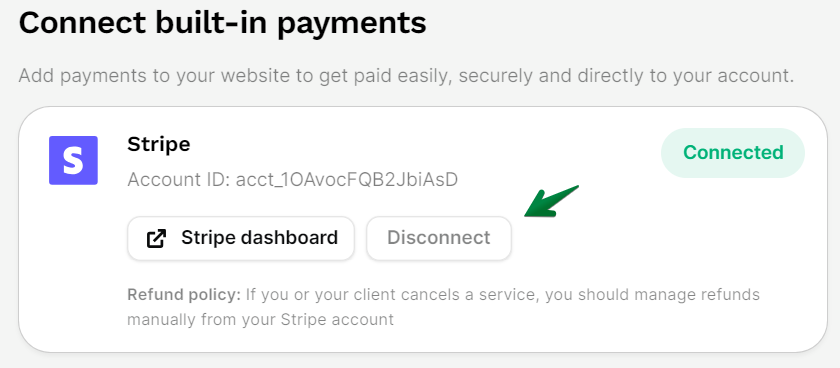
To Disconnect Stripe: Click ‘Disconnect’ to successfully disconnect Stripe.
Connect PayPal
Adding PayPal as a Payment Option: Click the 'Connect' button next to the PayPal option if you wish to add PayPal as a payment method on your site.

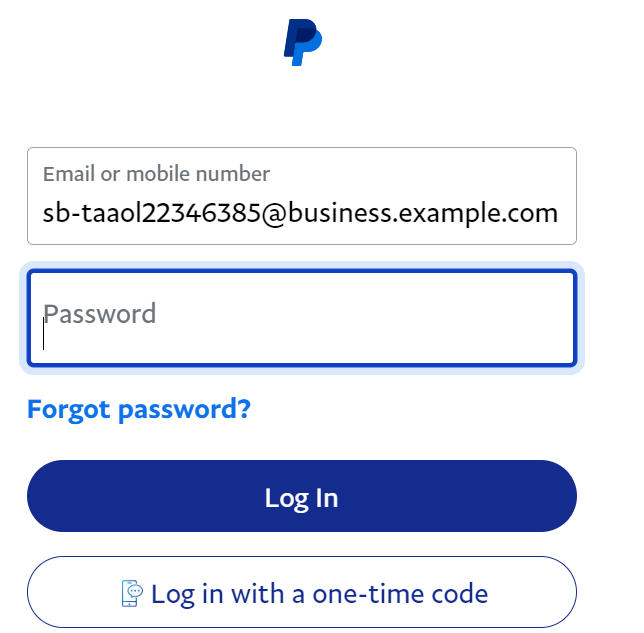
You will need to log in to your PayPal account to link it with your website.
PayPal Login: Enter your PayPal email or mobile number and Password to log in and authorize the connection with your website.
By following these steps, you will be able to integrate Stripe and PayPal into your website, allowing you to manage transactions and payments seamlessly from your clients.
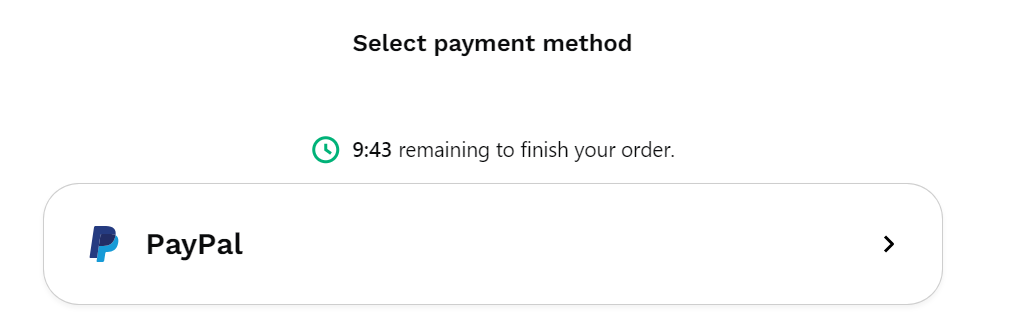
On the checkout page of your website, your clients will see the option to 'Select payment method' If PayPal is your preferred method, they can select it to proceed with payment.
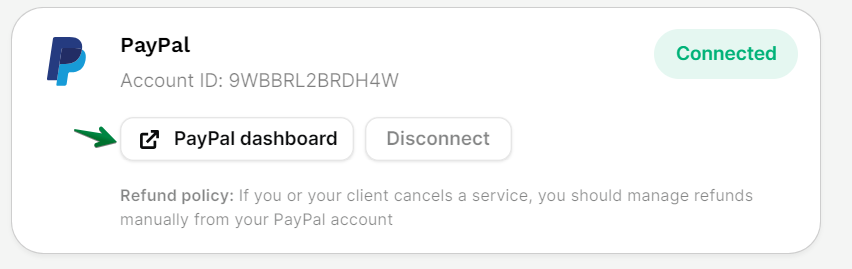
PayPal Account Connection: Once PayPal is selected, you should see that your PayPal account is connected, indicated by a 'Connected' status next to the PayPal logo.
PayPal Dashboard: If you need to manage your PayPal settings, you can navigate to the 'PayPal dashboard'.
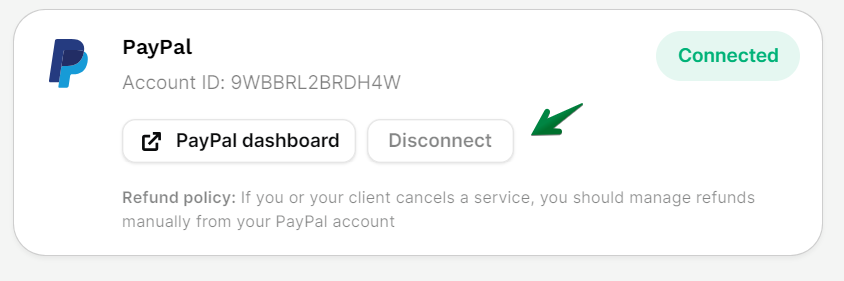
To disconnect your PayPal Account: If you wish to disconnect your PayPal account, you can click on 'Disconnect'.
Note: By following these steps, you will be able to integrate Stripe and PayPal into your website, allowing you to manage transactions and payments seamlessly from your clients.
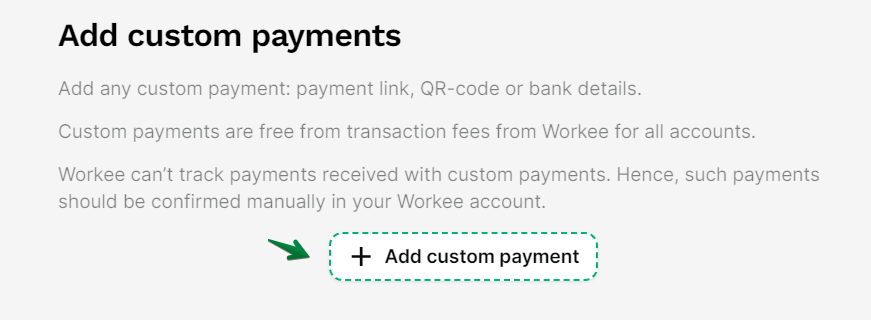
Create Custom Payments
You can add Custom Payments methods for more payment flexibility. Custom payments are free from transaction fees from Workee for all accounts. Workee charges 0% for Custom Payments. You can add any custom payment using:
Payment details
QR-code
Payment links.
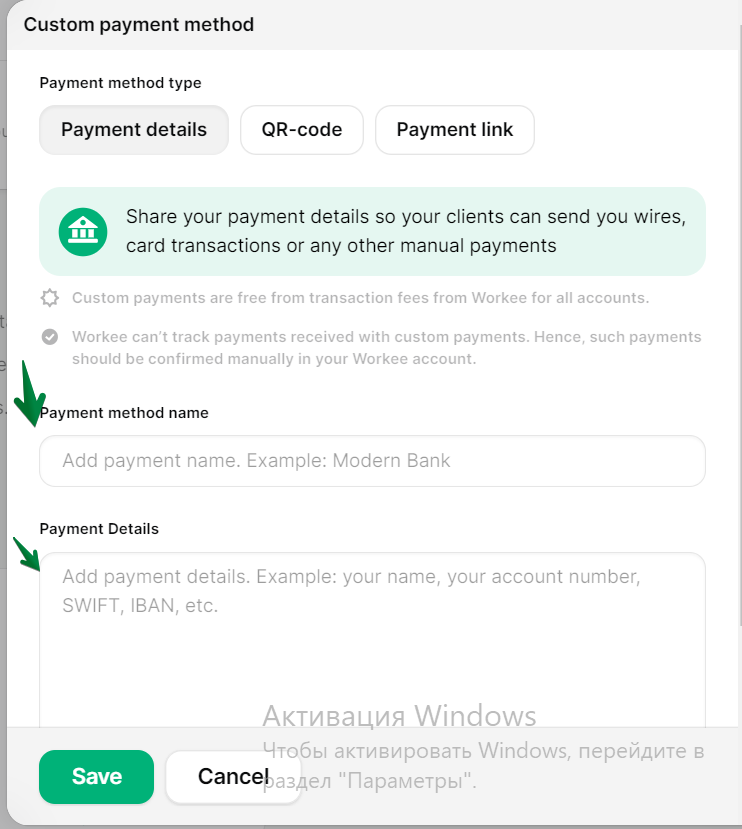
To add Payment Details
Click on '+ Add custom payment' to set up a new method.
Select between Payment details.
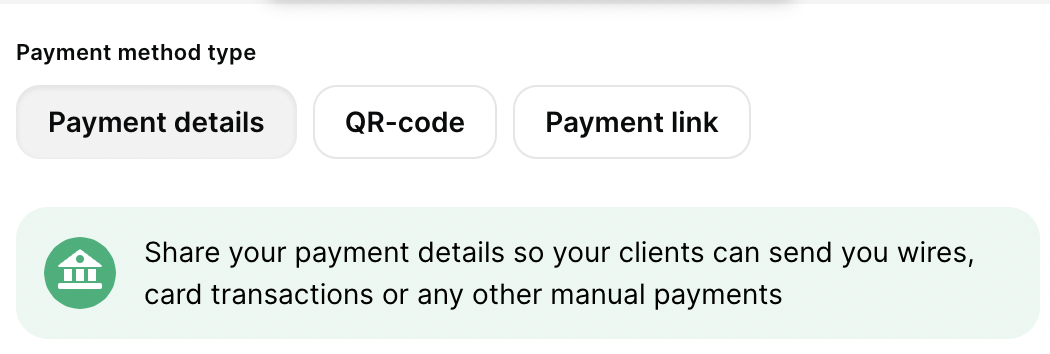
Enter the required details such as ‘payment method name’ and ‘payment details’, which may include your name, account number, SWIFT, IBAN, etc.
After entering your custom payment details, hit 'Save'.
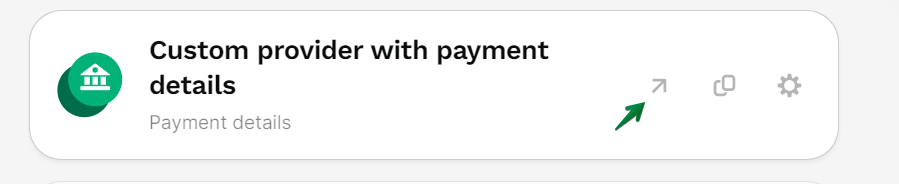
This will create a link with the details you provided.
Click the arrow ‘↗’ to open the link to the payment details.
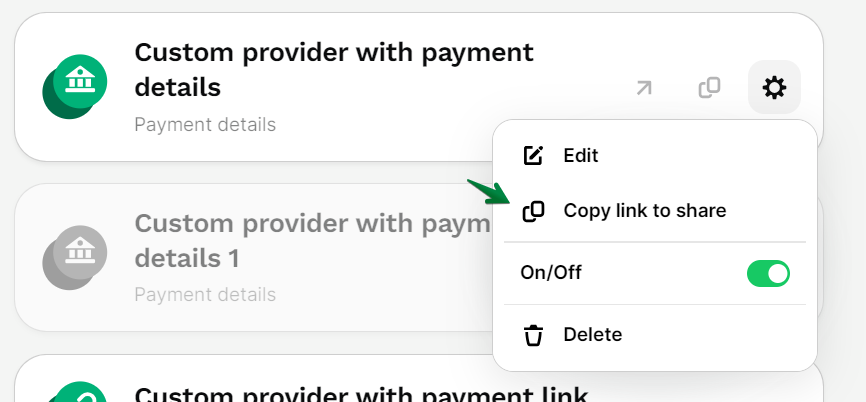
Copy the link to share with clients.

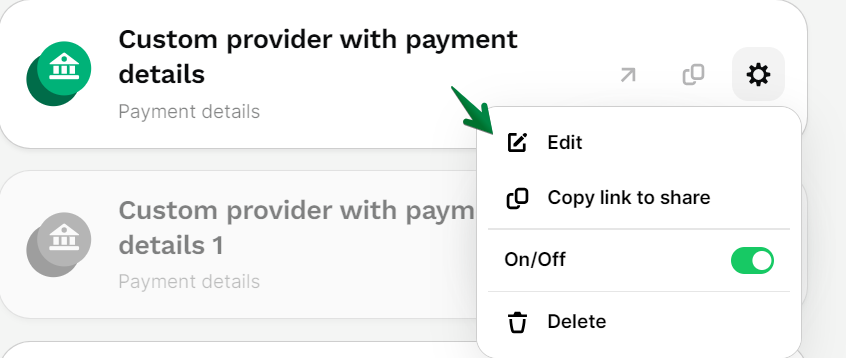
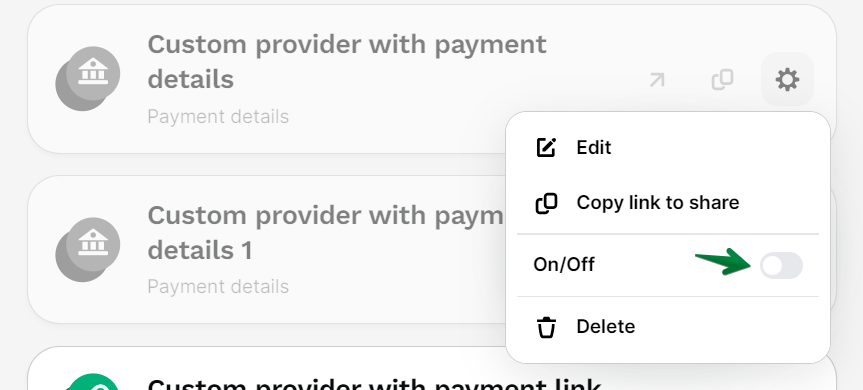
To make changes or update payment details information- Click the ‘Settings’ Icon to edit, copy the link to share, and toggle on/off to disable custom payment or delete the information as needed.
After completing the steps mentioned above, 'Custom Provider with Payment Details' on your website will look like the image below to others.
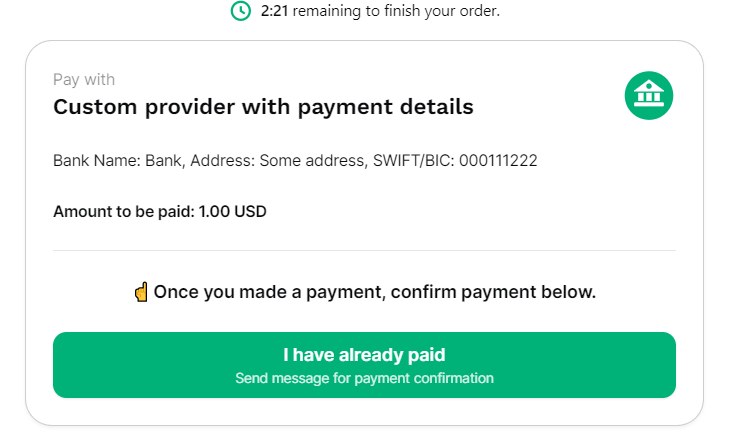
After making a payment using the provided details, your clients can click on 'I have already paid'.
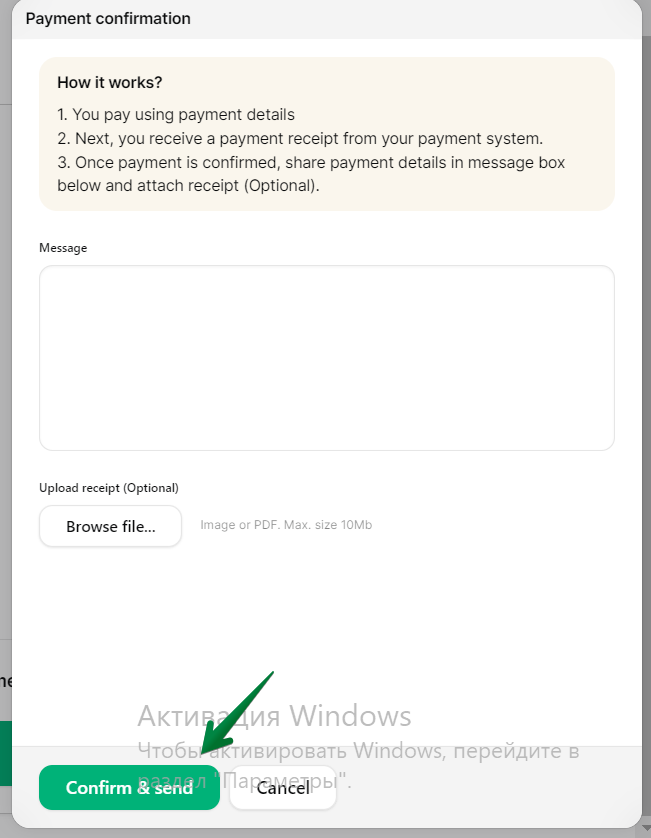
Clients will be directed to a confirmation screen where they can provide additional details, send a message, and upload a receipt.
Once all relevant information is provided, click 'Confirm & send' to finalize the confirmation process.
To add QR-code Payments
Click on the option to upload a QR-code: Enter the required details such as ‘payment method name’ and ‘payment QR-Code’, which will require you to upload a QR-code, a link, and a description (if necessary).
After entering the details of the QR-code, hit 'Save'. This will create a link with the details you provided.

After completing the steps mentioned above,'' Qr-Code Custom Provider '' on your website will look like the image below to others. Here they can find a link to the qr-code.
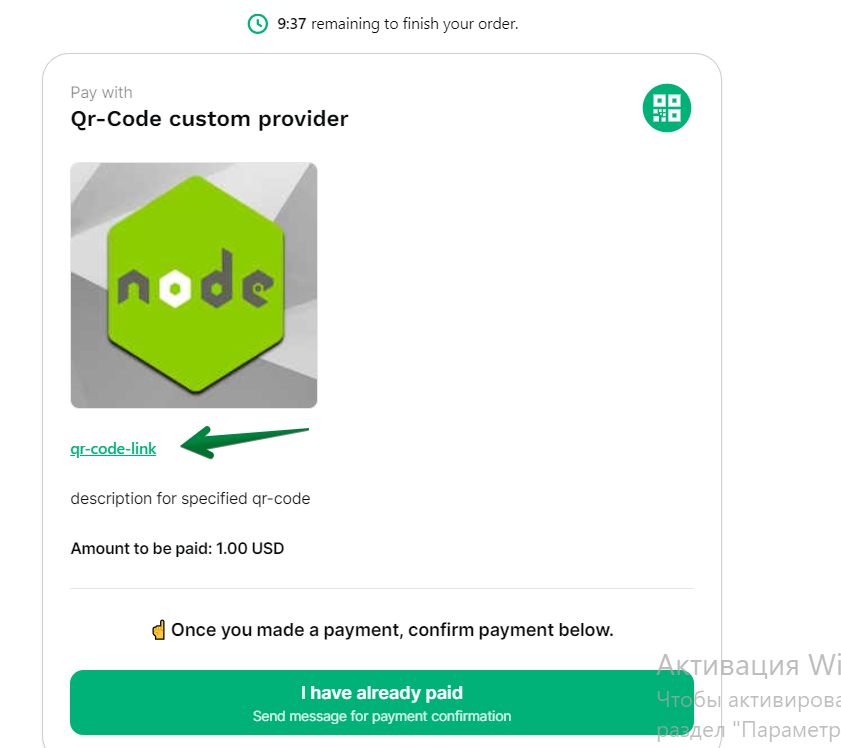
After making a payment using the provided details, your clients can click on 'I have already paid'.
Clients will be directed to a confirmation screen where they can provide additional details, send a message, and upload a receipt.
Once all relevant information is provided, click 'Confirm & send' to finalize the confirmation process.


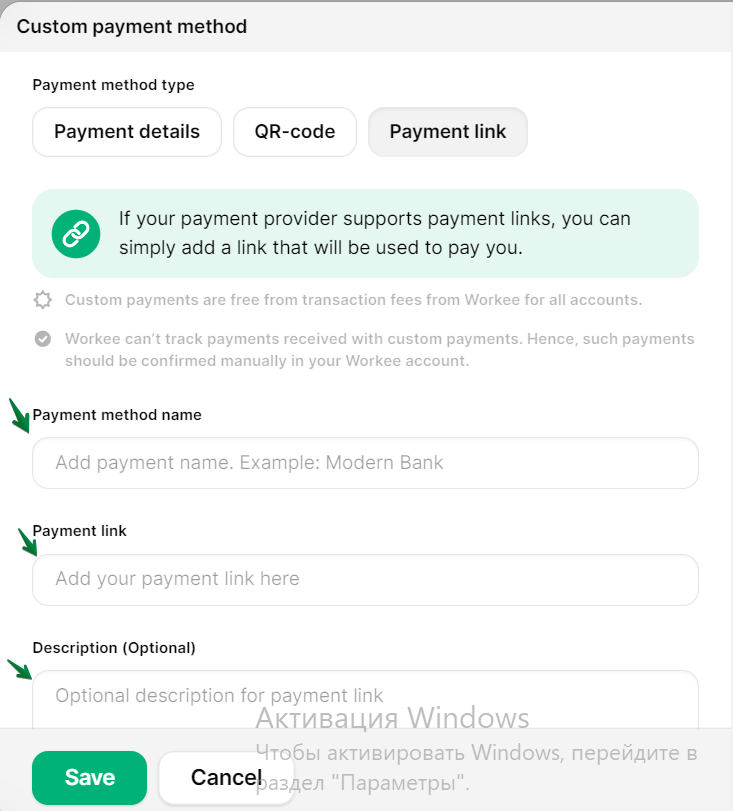
For Payment Links
To add Payment Link: Enter the required details such as ‘payment method name’ and ‘payment link’, and a description (if necessary).
After entering your link details, hit 'Save'.
This will create a link with the details you provided.
After completing the steps mentioned above,'Custom Provider with Payment Link' on your website will look like the image below to others. Here they can find a link to the payment.
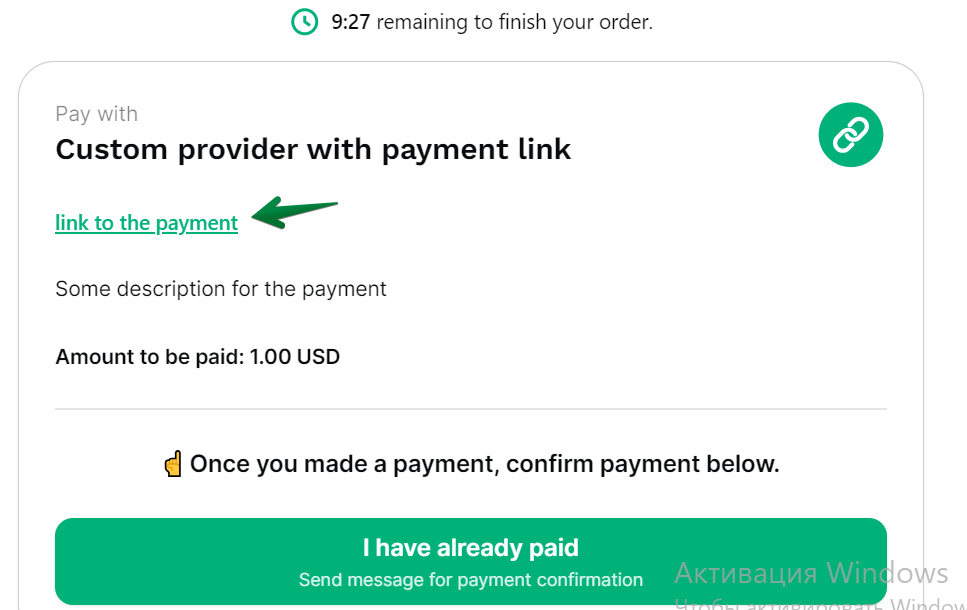
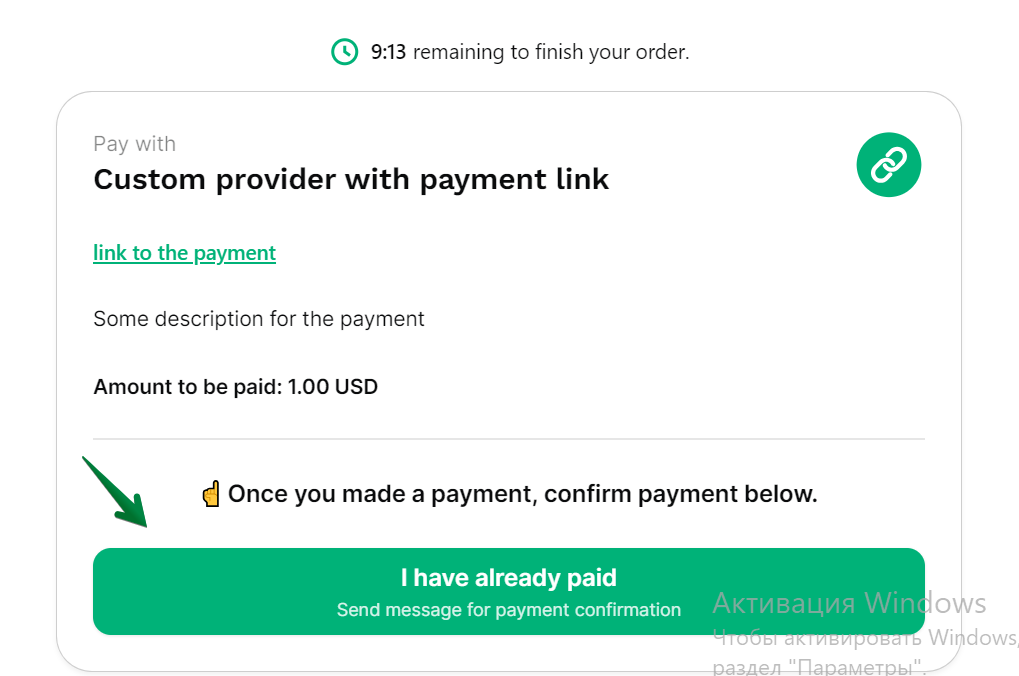
After making a payment using the provided details, your clients can click on 'I have already paid'.
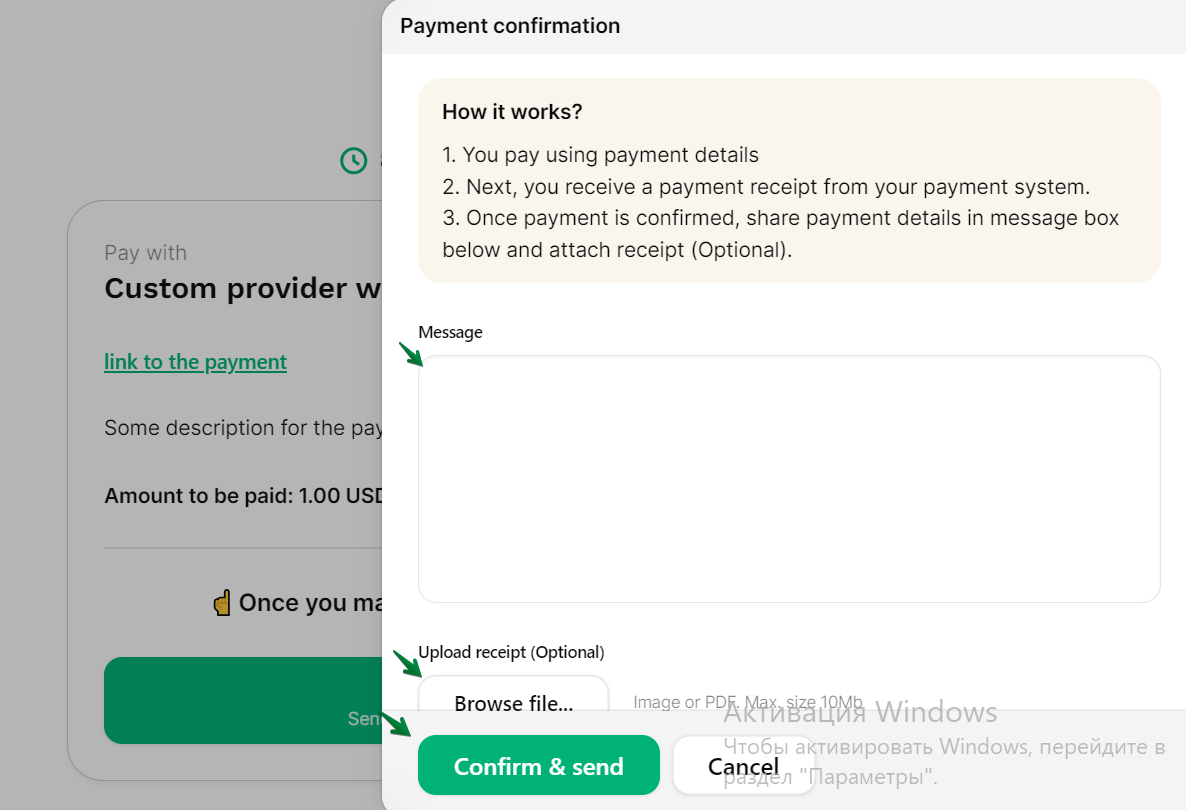
Clients will be directed to a confirmation screen where they can provide additional details, send a message, and upload a receipt.
Once all relevant information is provided, click 'Confirm & send' to finalize the confirmation process.
Pending confirmation status on your meetings page

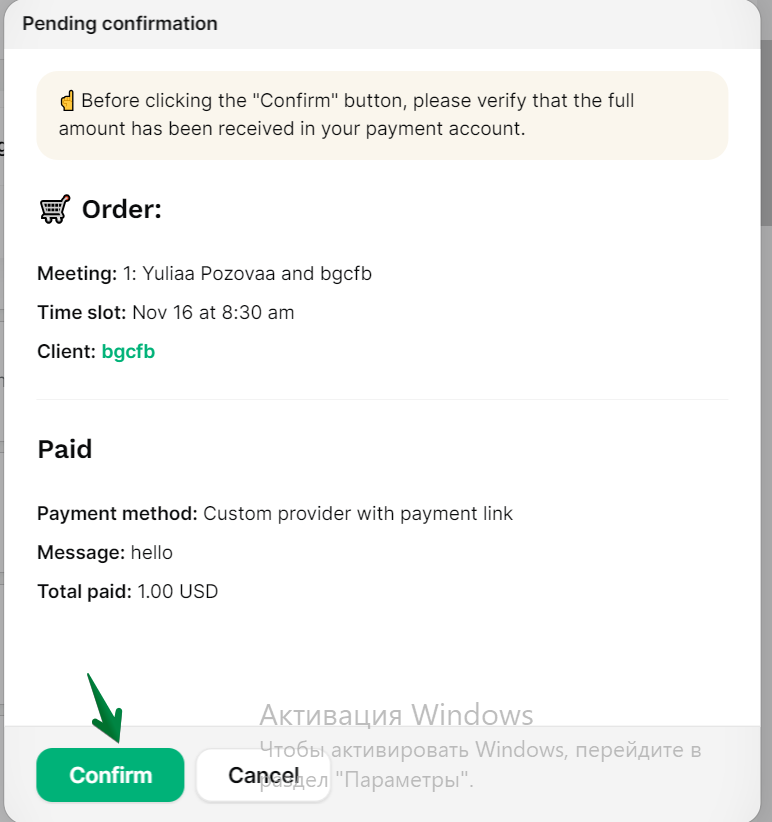
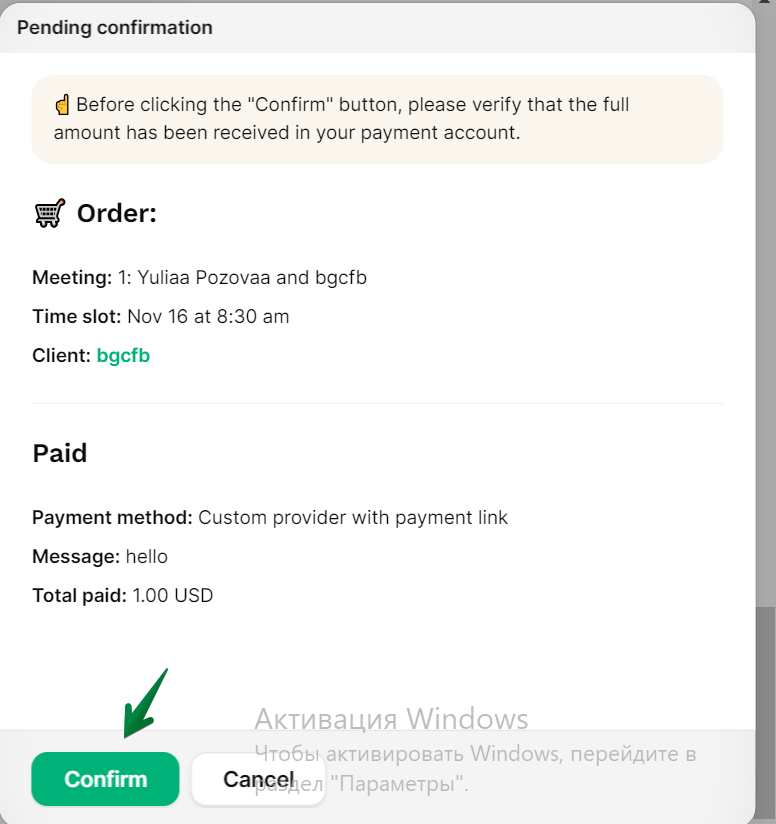
To Confirm pending payment: click on Pending confirmation, and you'll be directed to a confirmation page.
Before finalizing the confirmation,
a cautionary note advises you to ensure that the full amount has been received in your payment account.
Review the order details, which may include information about a meeting or service, the time slot, and the client’s name.
Check the paid amount and the payment method details.
Click the 'Confirm' button to complete the process.
Pending confirmation status on your Finance tab

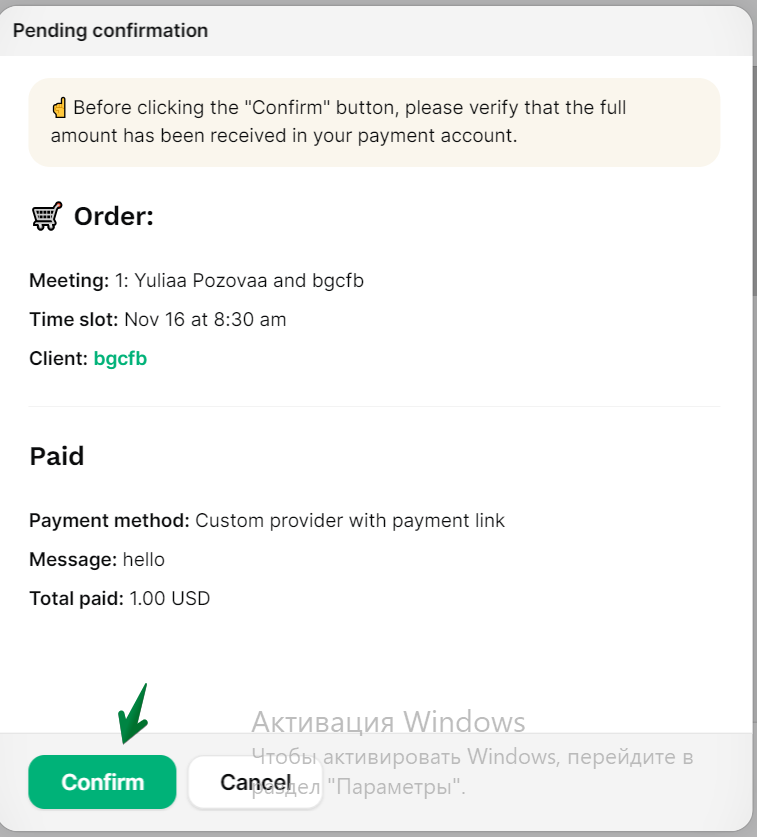
To Confirm pending payment: click on Pending confirmation, and you'll be directed to a confirmation page.
Before finalizing the confirmation, ensure that the full amount has been received in your payment account.
Review the order details, which may include information about a meeting or service, the time slot, and the client’s name.
Check the paid amount and the payment method details.
Click 'Confirm' to complete the process.
Pending confirmation status on your Client tab
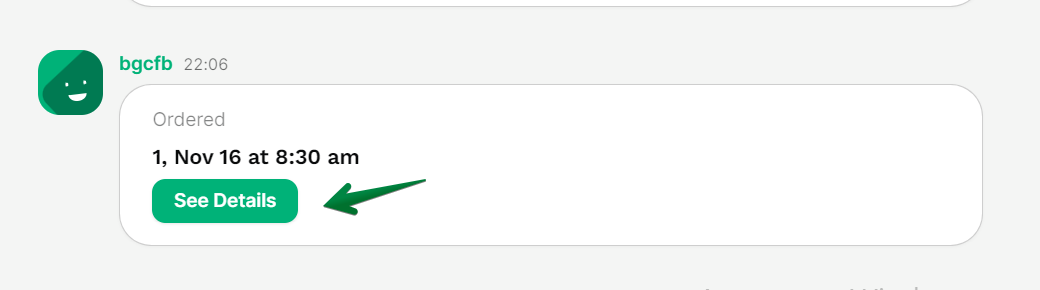
To Confirm pending payment: click on 'See Details', and you'll be directed to a confirmation page.
Before finalizing the confirmation, ensure that the full amount has been received in your payment account.
Review the order details, which may include information about a meeting or service, the time slot, and the client’s name.
Check the paid amount and the payment method details.
Click 'Confirm' to complete the process.

Pending confirmation status on your Project tab
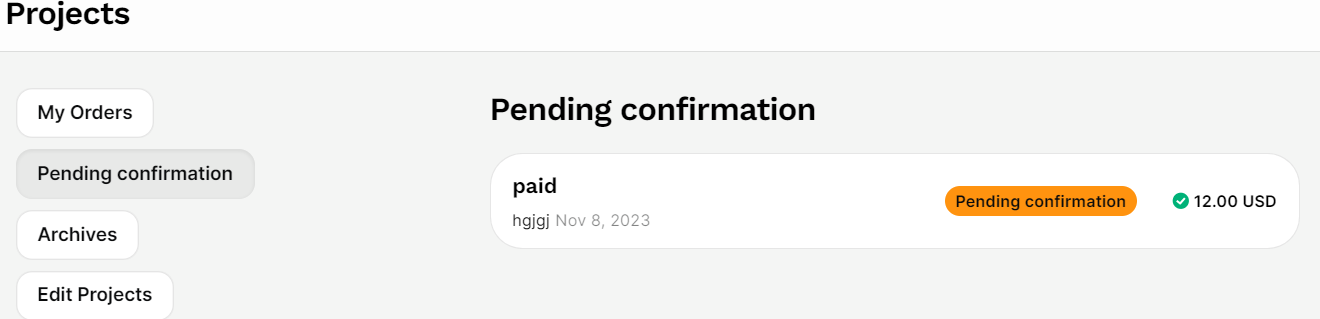
To Confirm pending payment: click on Pending confirmation, and you'll be directed to a confirmation page.
Before finalizing the confirmation, a cautionary note advises you to ensure that the full amount has been received in your payment account.
Review the order details, which may include information about a meeting or service, the time slot, and the client’s name.
Check the paid amount and the payment method details.
Click 'Confirm' to complete the process.
Note: Always ensure the payment details you enter are accurate to avoid any delays in the confirmation of your payment.
Check out this short video tutorial to see how to connect payments.

Keep updated about latest industry insights and subscribe to our newsletter
Follow Us


